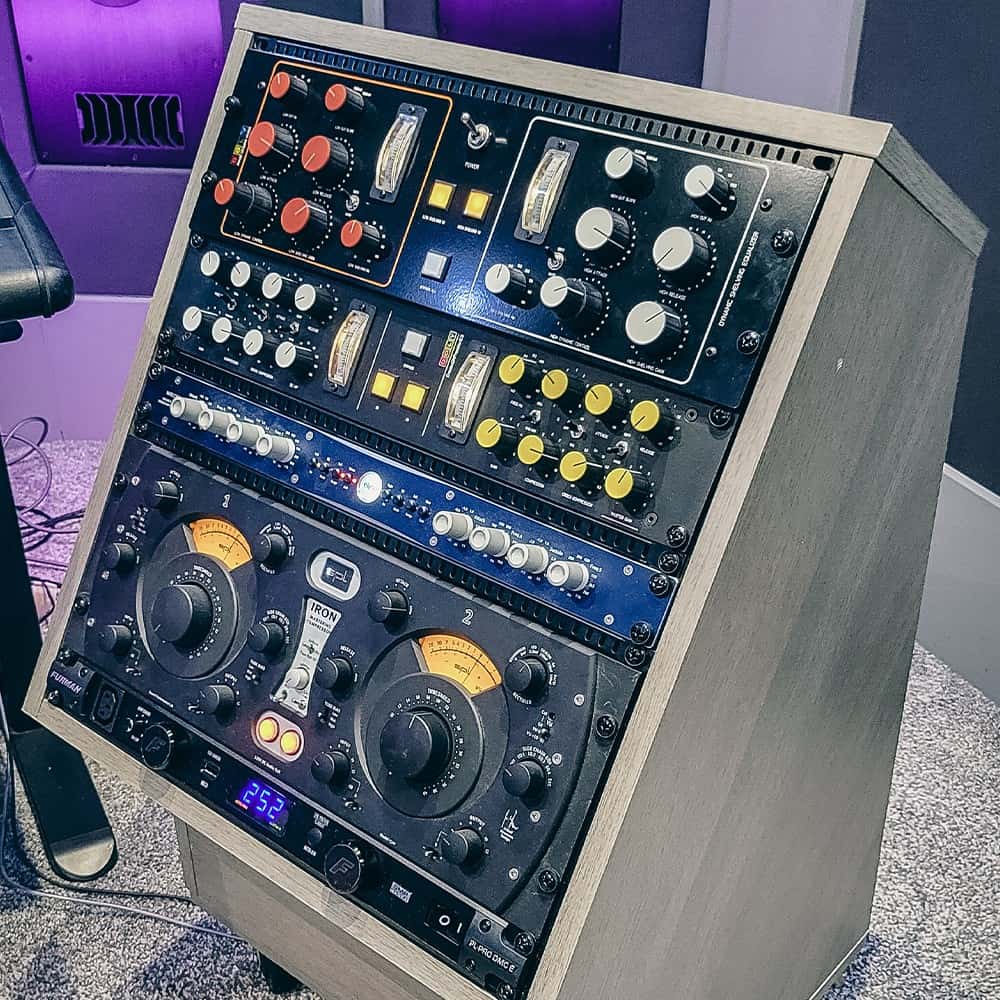
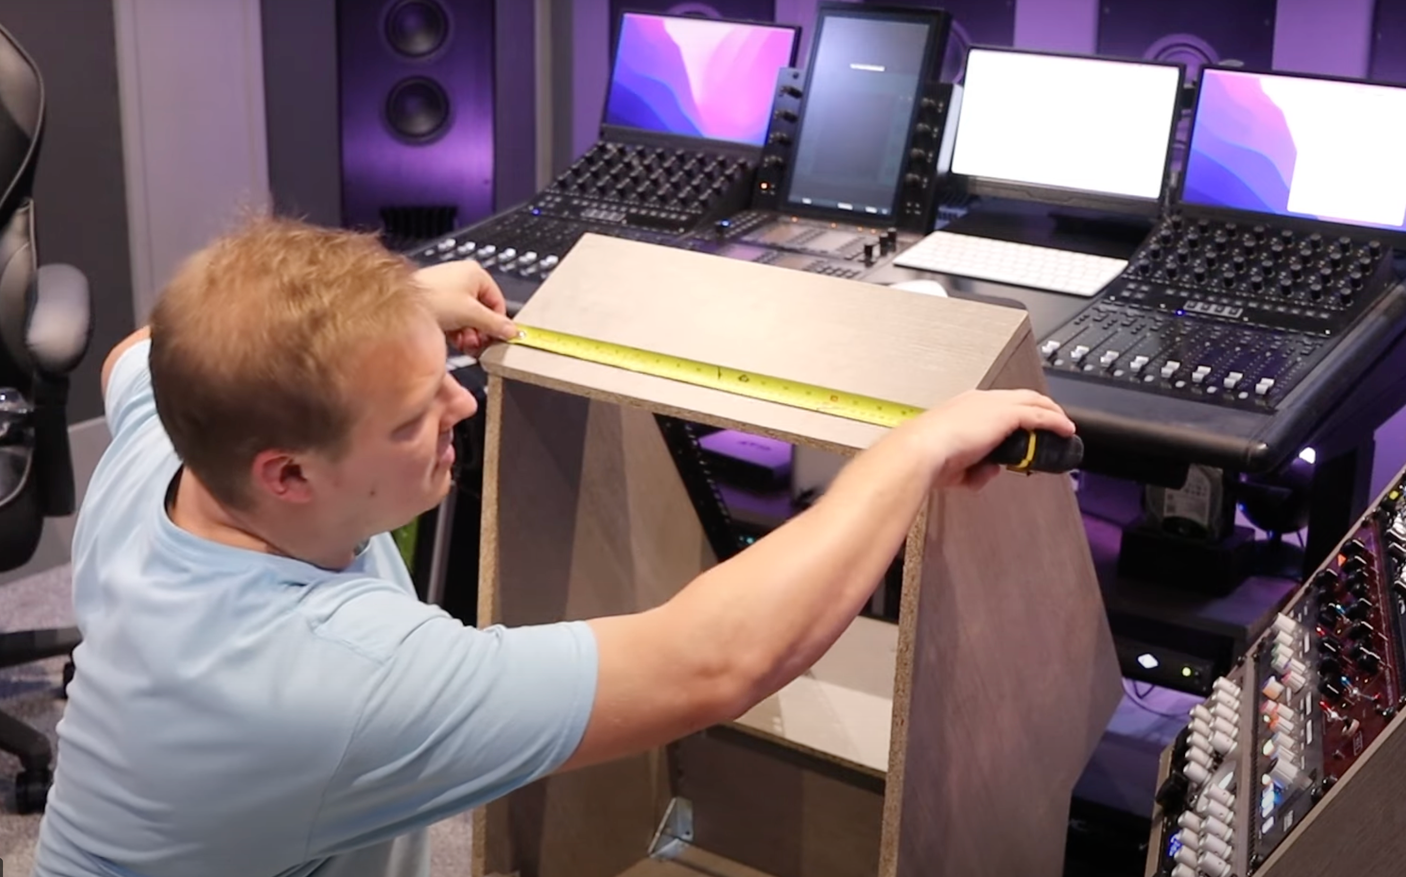
In this video I show you how to build a 19 inch sidecar rack from scratch. I have quickly run out of rack space so needed to build another identical rack to the other 2 that I have in my studio. You can follow the step by step process in this detailed article.
WHAT YOU WILL NEED
- Saw
- 16mm Screw
- 600mm Furniture Board
- 400mm Furniture Board
- 200mm Furniture Board
- Furniture Board Edging Tape
- 4x Wheels
- 20 Pack Corner Bracket
STEP 1
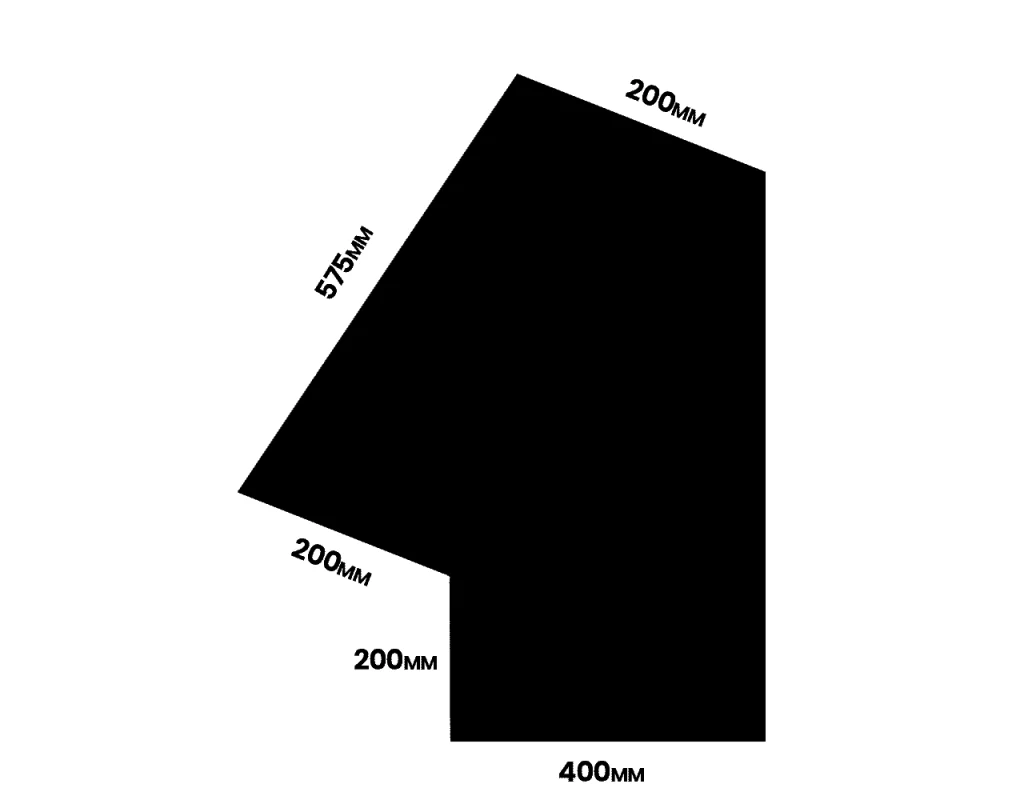
Cut 2 side panels out from a 600mm wide sheet of furniture board.
STEP 2
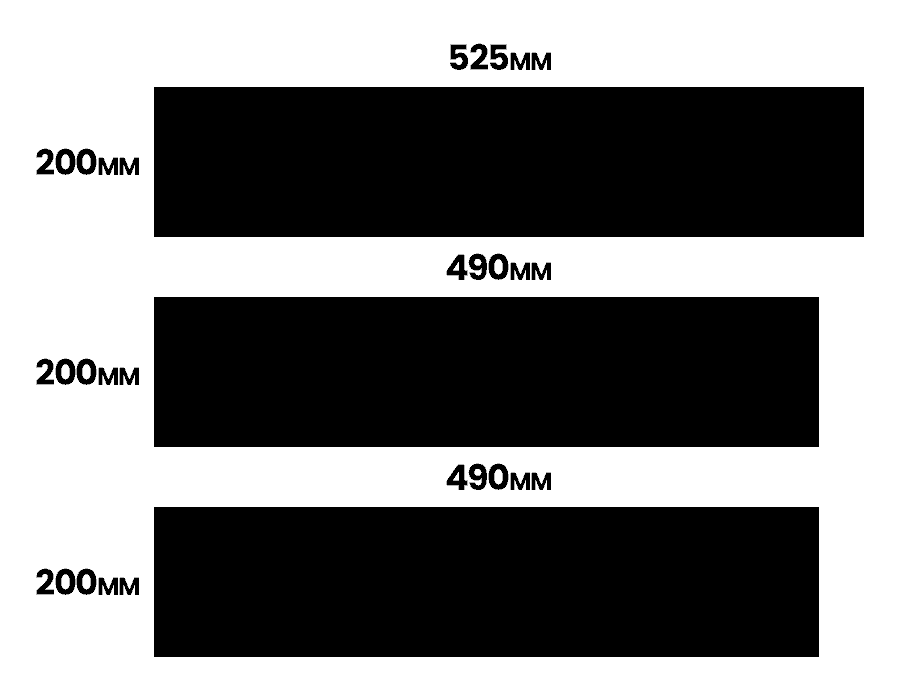
Cut 3 pieces from the 200mm wide furniture board.
- 525mm x 200mm
- 490mm x 200mm
- 490mm x 200mm
STEP 3
Cut the base from the 400mm wide furniture board.
- 525mm x 400mm

STEP 4
Cut a piece from the 100mm wide furniture board.
- 490mm x 100mm

STEP 5
Attach the 4 wheels the bottom of the 400mm wide base.
STEP 6
Attach the 2 side panels to the base using the corner brackets.
STEP 7
Attach the 2 200mm x 490mm pieces using the corner brackets.
STEP 8
Attach the 200mm x 525mm top piece using the corner brackets.
STEP 9
Attach the 100mm x 490mm rear piece to create the lower tray using the corner brackets.
STEP 10
Screw the 12u rack rails to each side of the rack.
STEP 11
Iron on the edging tape where ever there is a cut edge.
STEP 12
Fill your rack with your equipment and enjoy.
