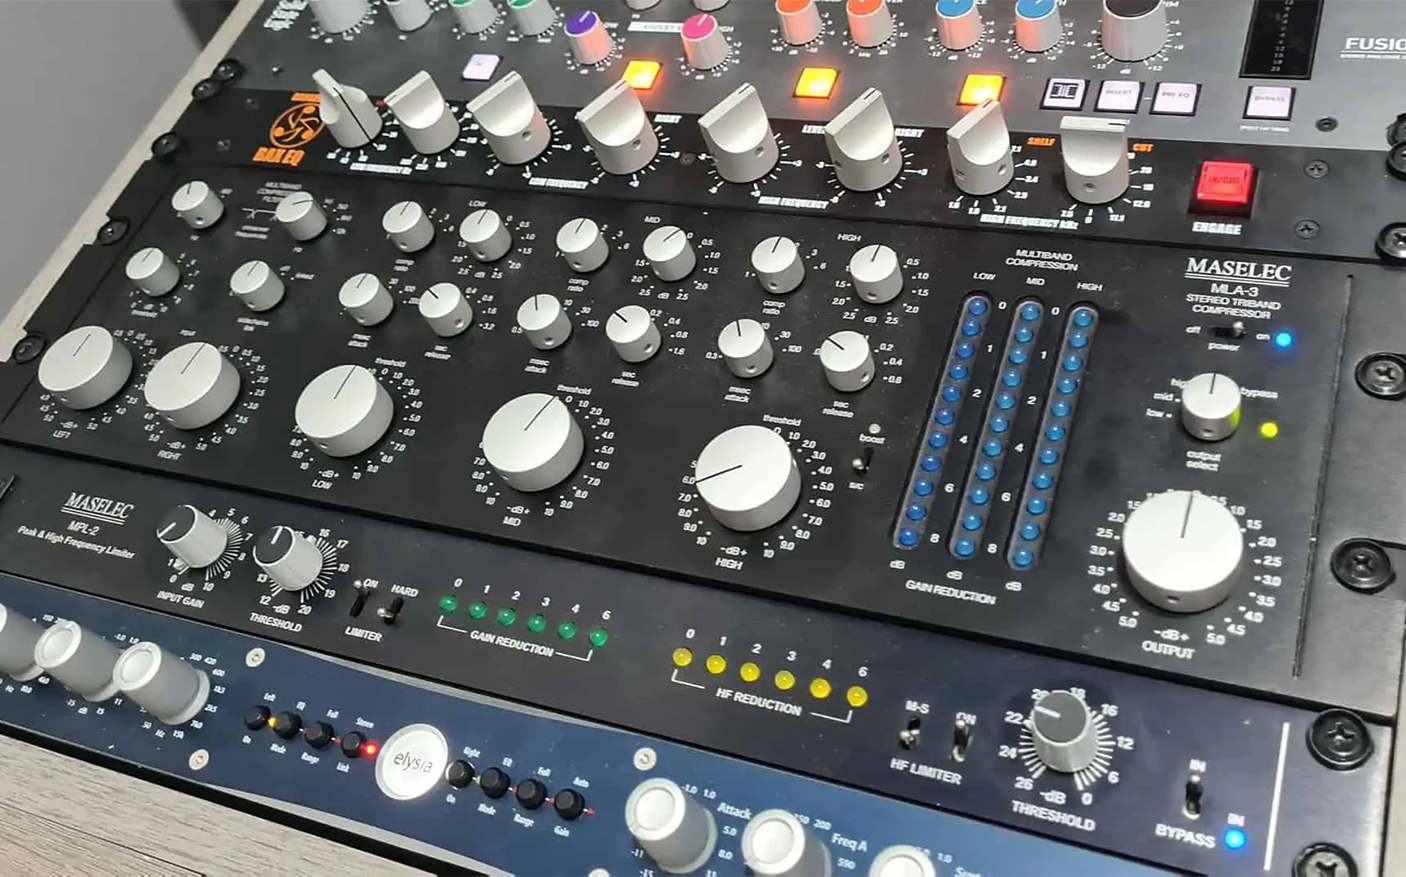
In 2013 we purchased a Maselec MLA-3 to include into our mastering chain as our primary mastering compressor. 5 years later we still have the Maselec compressor installed in our mastering studio. Which should tell you a great deal about how good this compressor is. We feel it is an essential tool to achieve the high quality results we are know for.

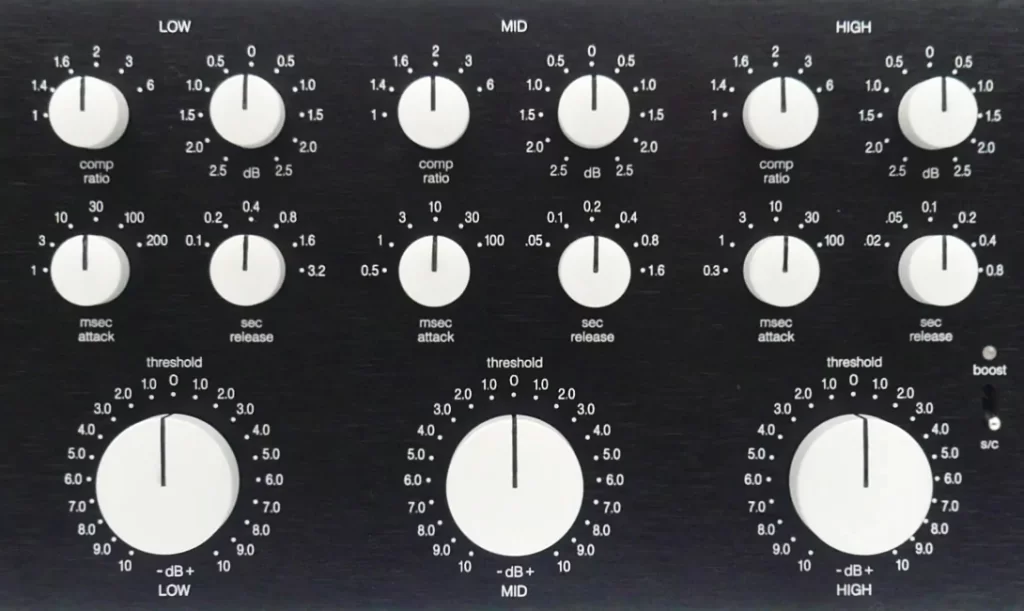
The Maselec MLA-3 is a multiband mastering compressor that contains all the essential tools needed to control any mix. The compressor is split into 3 parts, low, mid and high bands. Each band includes 5 controls. Ratio, gain, attack, release and threshold. Each band can be used independently to precisely control a certain frequency range. Ratio can be turned all the way up to 6:1 for a harder more aggressive compression style. My preferred compression ratio on the Maselec MLA-3 is 2:1. This ratio is a lot more subtle and controls the mix in a really effective way.
The gain control can be used to increase or decrease the band in volume by up to 2.5db. This is useful if the amount of compression you have applied to the band has reduced the presence. You can use the gain control to reintroduce some of it’s presence and re-balance the mix. This is particulary good when using the Maselec on the low band. The gain control is also great in the high band for reducing the brightness of a mix. Even a very minimal 0.5db decrease can make a world of difference.

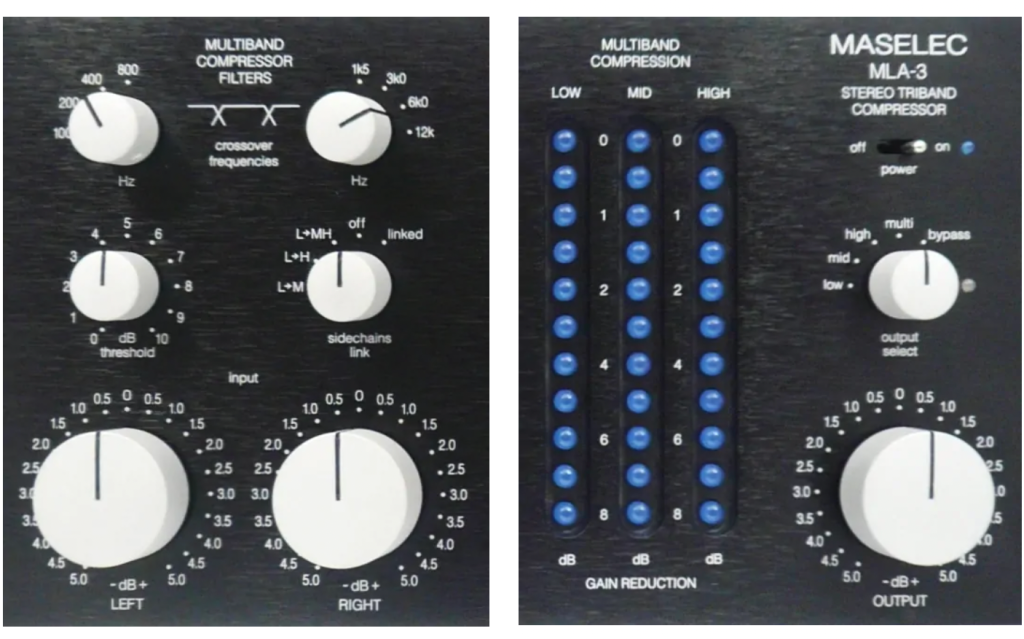
Located in the top left you will see two frequency parameters used to set the range of each band of the compressor. The left control will set the frequency range of the low band from 0hz up to 800hz. I personally like to leave the low band at around 200hz or 400hz. This isolates the sub and kick frequencies and allows you to control the low end of your mix using the low band.
The right frequency parameter works in the same way as the low frequency parameter but this time selects the frequency range of the high frequency band. This band can be selected to work in a range of 1.5kHz, 3kHz, 6kHz and 12kHz upwards. My preference for this band is around 6kHz. By selecting this frequency range you are only isolating the upper high frequenciesof the mix that may need to be controlled independently to ensure the mix is not harsh on the ears.
You may notice there is no way of selecting the mid range band. The mid range is selected by selecting the low and high frequency range. The mid range is the value between these two selections. For instance if you selected 400hz on the low band selector and 6kHz on the high band selector the mid bands frequency range would be from 400hz to 6kHz.
The threshold parameter is essentially a master threshold used to set the threshold level across all bands. I personally set this at 5 and use the individual band thresholds to set the threshold amounts. At times this is a handy feature to have if you want to increase or decrease the threshold globally across all bands instead of going through tweaking each threshold individually.
The sidechain link parameter allows you to select which bands are active. Locked selects all bands locked as a single band compressor much like the Maselec MLA-2. This takes the compressor out of multiband mode and works as a single band compressor. Off activates the multiband compressor. The other 3 options select the way in which the bands are routing to the compressor. Each mode can be used in different ways to achieve different results such as pumping and sucking the audio signal.

Located on the right is a gain reduction LED that displays the amount of gain reduction on each band. My personal preference on how much gain reduction should be applied is between 1 and 4db of gain reduction depending on the track and it’s needs. Any more than this can seem a touch over compressed.
To the right of the LED gain reduction meters you will find an output select. The output select allows you to select what audio source you hear from the compressors output. Bypass obviously bypasses the audio signal. Multi ensures all bands are selected to output from the compressor. High, mid and low are essentially solo selectors. By selecting either of these 3 parameters you’ll solo that band. This is a great way to audition what the band is doing and ensure you are compressing that band correctly.

