Dolby Atmos is quite simply an incredible format to work in. We first heard about Dolby Atmos through the grapevine from industry friends. We passed it off as we will have to hear it to believe it. Everything we were hearing regarding Dolby Atmos seemed too good to be true.
We only started taking it seriously one morning when Dale from SX Pro rang me. I remember it like it was yesterday. I was in my garden having a cup of tea and my phone rings. I see it’s Dale and I answer it. He says to me “Paul, you need to look into Dolby Atmos.” We spent the next 45 minutes going through everything and by the end of the conversation I was kind of sold on it but I said “Dale, I need to hear it before I drop £130k on a new studio.”
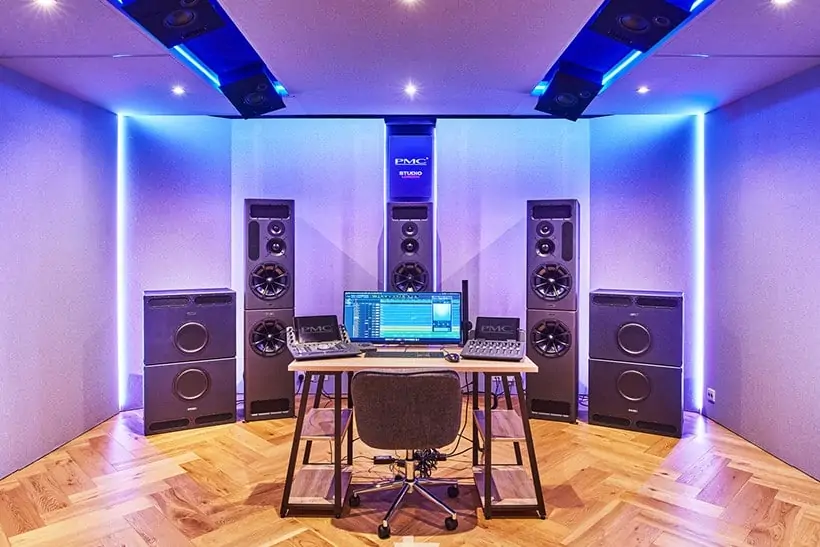
So the next thing to do was to hear Dolby Atmos in person. We went down to the PMC showroom in London for a demo of their Dolby Atmos room. I walked in aware I was going to be impressed. I mean PMC make some of the best speakers on the market and even in stereo they are going to sound amazing. We speak to Heff and he runs us through a few things how it all works and we take the hot seat in the sweet spot. The first song he plays us was Imagine Dragon – Believer. I know the song well as at the time it was my daughters favourite song. She would play it 5 times a day at full volume. So lets say I’m relatively bored of the song by this point. It starts playing and I instantly think, OK this is new, this is interesting. The the chorus comes and I am honestly engulfed in this overwhelming explosion of emotion. Something I have never felt before from music. Music moves me but Dolby Atmos made me have a full body audiogasm where hair on the back of my neck and arms stood on end. Now I’m a guy, I’m hard as nails, I don’t cry. It’s just how I was brought up. I stood there in this room surrounded by Heff from PMC, Dale and Paul from SX Pro and Nick my business partner, holding back tears. Tears of just pure emotion. I was blown away. We listened to a few more songs and left. We stood chatting with the guys from SX Pro and I said to them “OK we are sold.” We walked to a local Turkish restaurant and started pricing up our room and creating a schedule to get the room built.
Here’s the downside to Dolby Atmos. Once you experience Dolby Atmos, stereo just seems weak and lifeless. I now had a gap of about a month between ordering the Dolby Atmos studio and the complete build being completed. For a month I just longed for Dolby Atmos. I explained it recently to someone as it was like buying a Ferrari or Lamborghini and having to wait 2 month for it to arrive but still driving your Ford Escort about.
Finally the day came and we could begin building. We cleared the room ready to build the new studio. I planned with SX Pro exact dates that the equipment would arrive so we could all keep to a planned schedule and have as little downtime as possible.
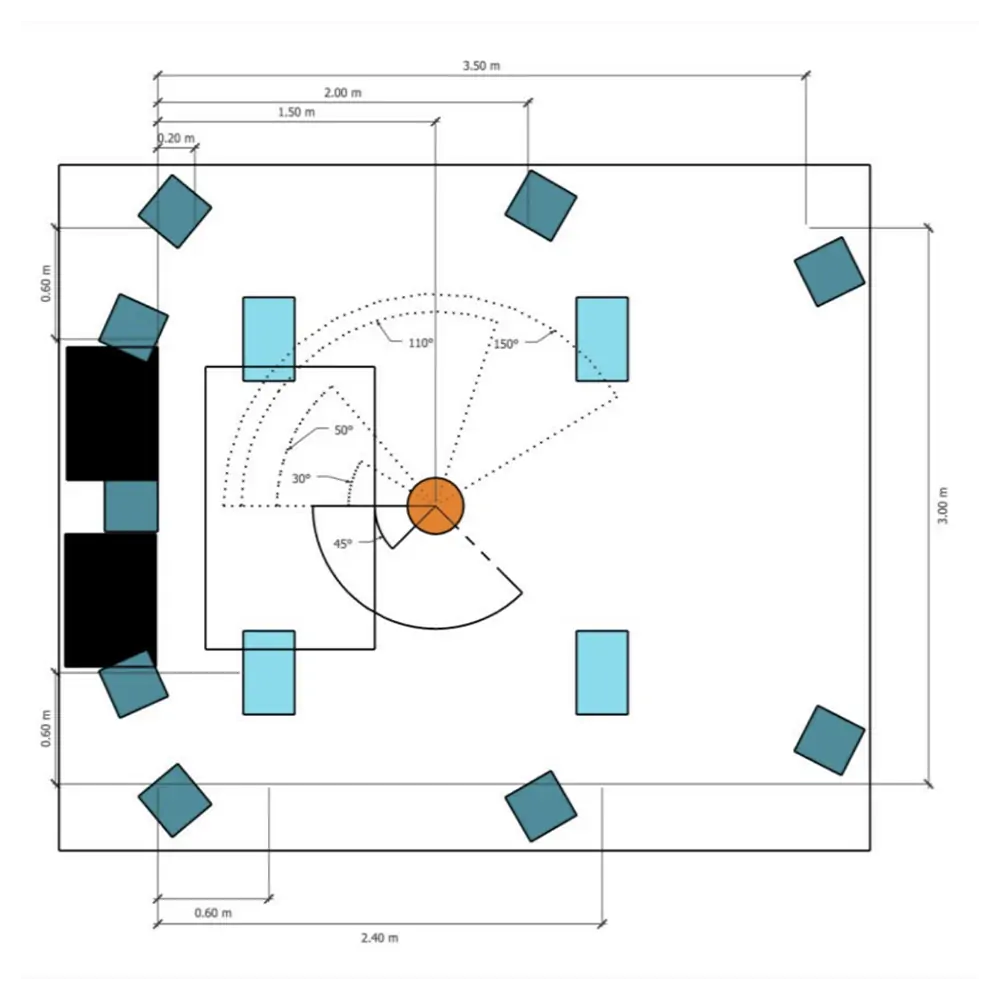
Dolby Atmos studios have to be built to an incredibly detailed spec. Measurements must be correct and in order to be certified these strict guidelines must be followed. Below you will see an image of the exact spec and measurements we built our studio to. Every measurement was within 10mm and is so precise we left no room for errors.
BUILDING THE STUDIO
The Build started by building a room within the room. A floor was laid and all 4 walls put up. The walls and floor were built with a layer of OSB board, then 100mm cavity filled with 100mm sound insulation rockwall, then a layer of 18mm MDF board. The new walls and floor that has been built into this room is designed to stop most audio from escaping the room.
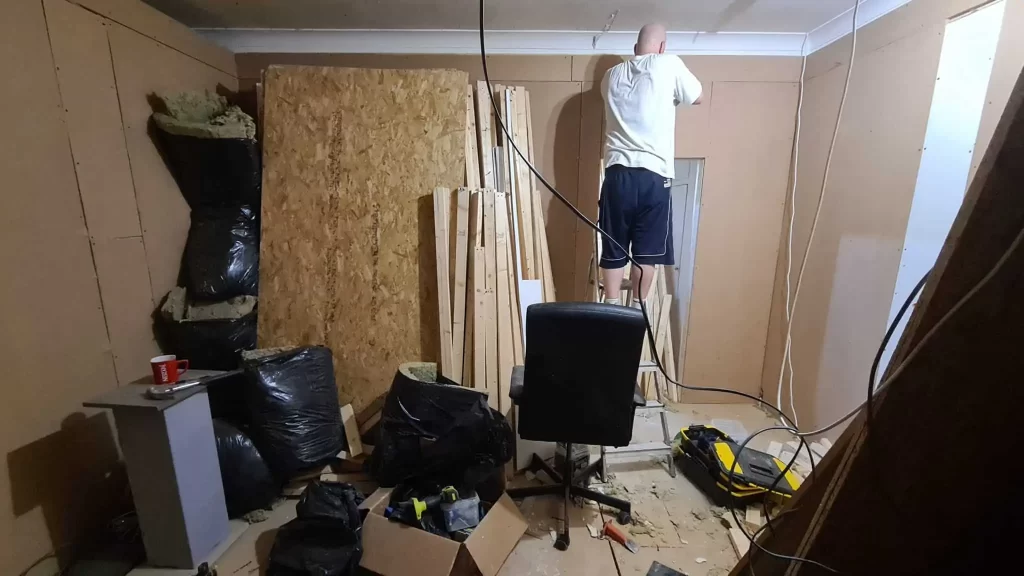
Next we had to put the ceiling in. This was put in to a similar spec to the floor and walls with the attention to cutting voids in for the ceiling speakers to protrude into. Whilst fitting the ceiling we run cables ready for the 6 lights that would sit between our acoustic clouds.
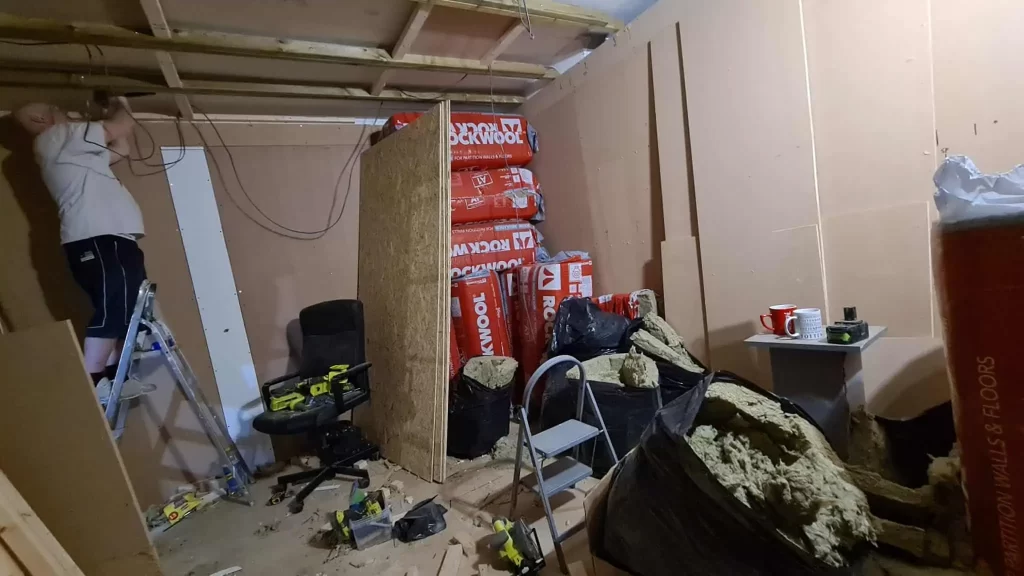
We boarded out the ceiling with 12mm OSB board. Mainly because it is lighter than MDF and we didn’t want too much weight on the ceiling just in case it started to bow with lots of weight.
Next was the painful part. My back was in agony after this stage. Laying the Tecsound on the walls. If you are unaware of Tecsound. Tecsound is a flexible, easy to handle and high performing acoustic membrane. It quite simply doesn’t let any sound through. We covered every wall in Tecsound. It weighs a ton. I was doing this pretty much on my own so had to cut into pieces as I just couldn’t lift it alone. It is well worth putting this in, just try and get someone to help you.
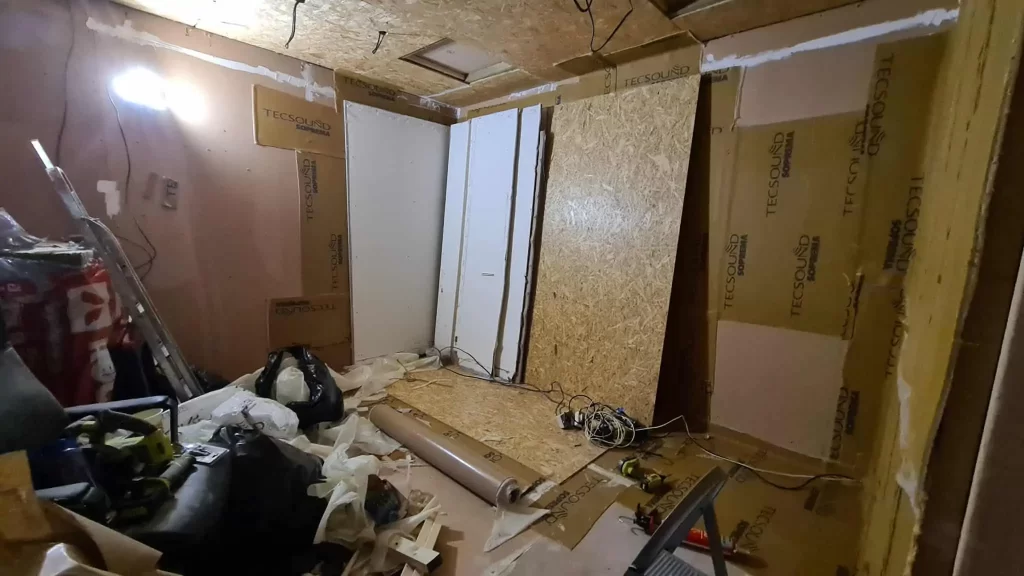
The last thing to do to the room within the room was to layer the walls with acoustic plasterboard. The plasterboard doesn’t need to look great as there is another wall going in front of this wall. This meant we could use left over pieces of plasterboard from our previous studio builds. All walls and ceiling had to be covered and sealed with plasterboard. The plasterboard created a sandwich, pressing the plasterboard against the Tecsound and the MDF board.
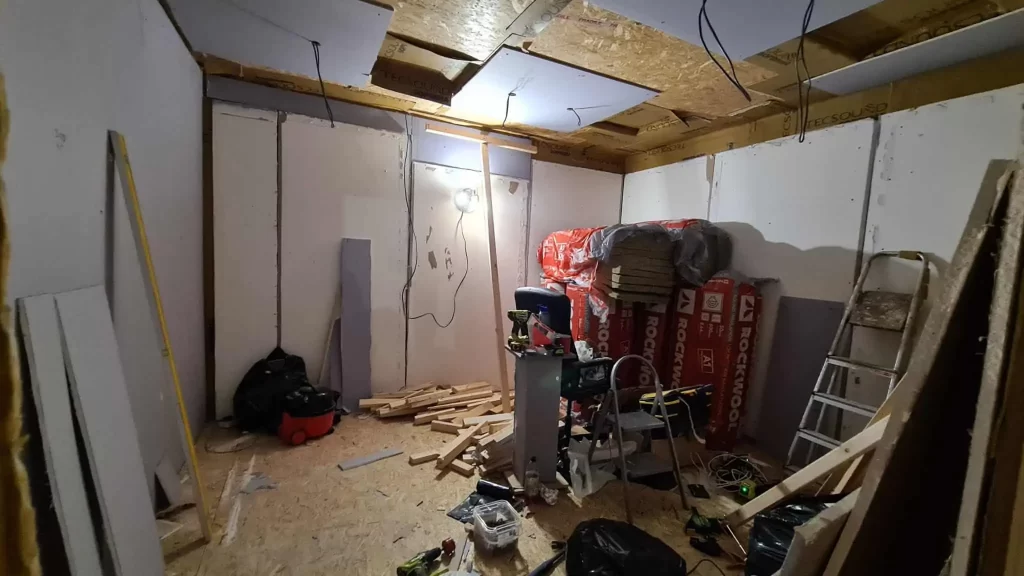
Next came the fun part. We started to build the room acoustics and frames for walls you will see that sit in front of the solid walls behind. We started with the ceiling building the 3 acoustic clouds. Two on either wall and one down the centre of the room going over your head. Two channels have to be left in the ceiling for the ceiling speakers to fit in.
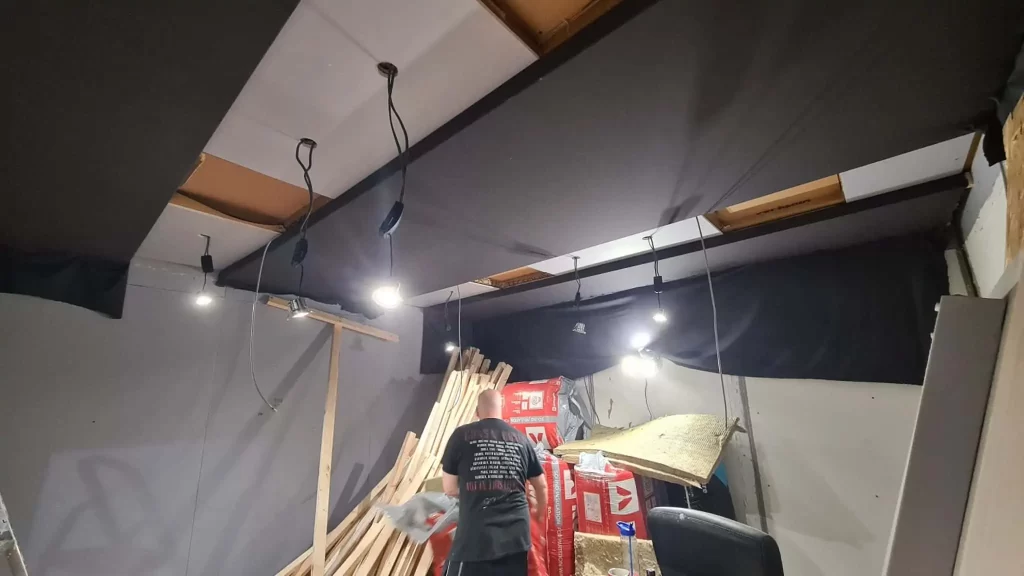
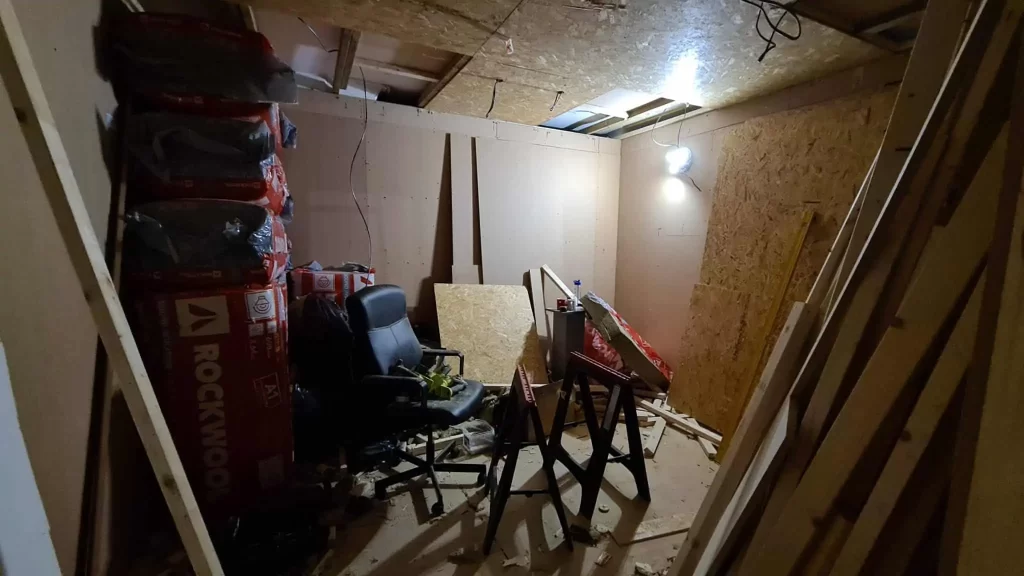
With the clouds built we could make good on the ceiling, paint and get the lights fitted. You will notice 4 slots in the ceiling. These 4 slots are there for the ceiling speaker brackets to go into. Then the speakers hang down from there. We had to build these slots into the ceiling so that we could keep to Dolby’s strict measurements from floor to ceiling speaker sweet spot.
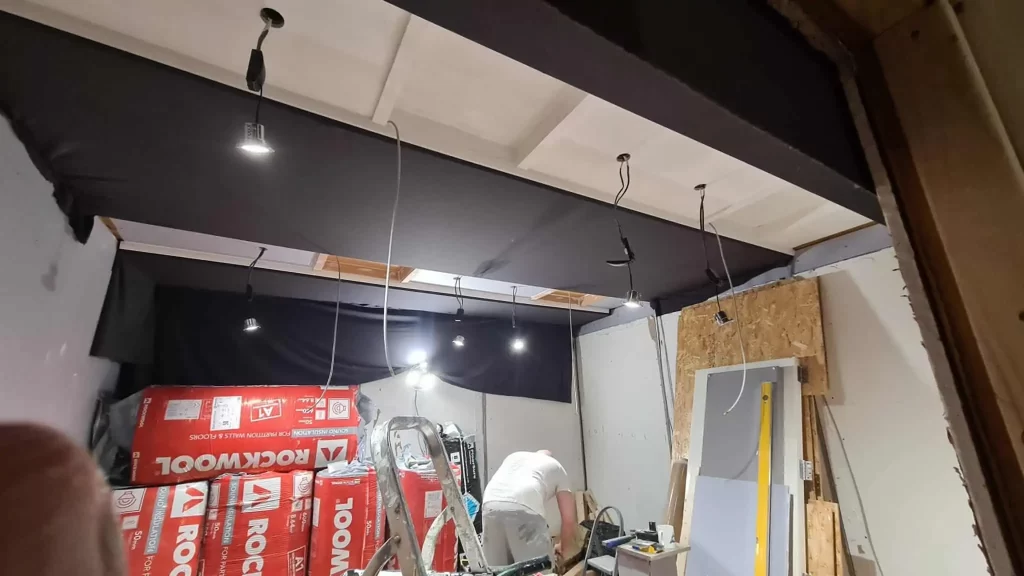
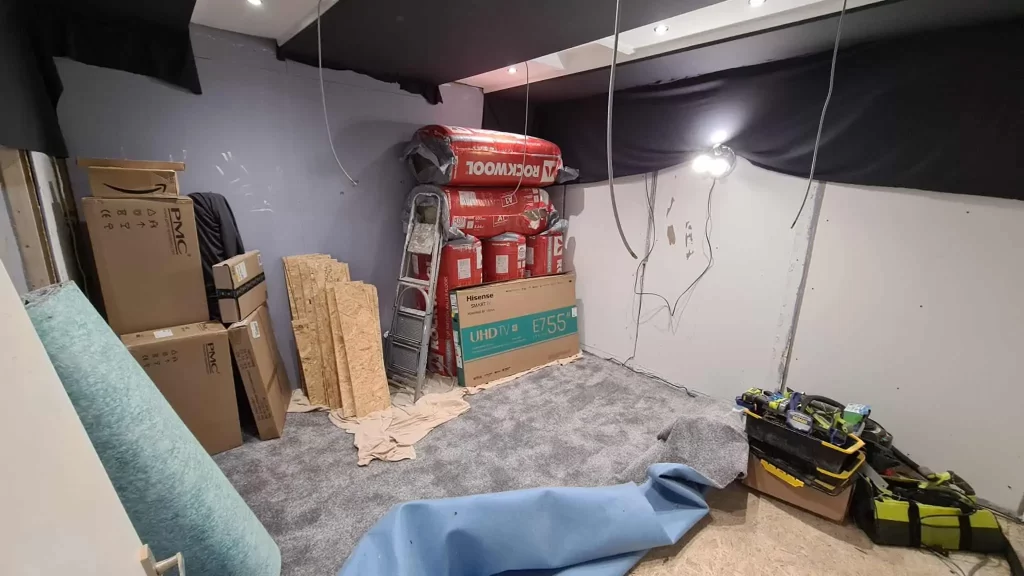
At this point things really started to feel like they had taken shape. The carpet was being laid and this meant we had to start keeping the room clean of dust and wood chippings. Acoustics are very important in a studio, which is why we laid acoustic underlay, then acoustic carpet.
The guys at SX Pro really went the extra mile for us here. Our speakers were a few days away from arriving but we were kind of in the dark with regards to sizes of the speakers. We could get the dimensions of the speakers off the PMC website but we really wanted to just get 1 PMC ci 140 and another PMC ci 65 so that we could build the frames around them. Dale and Jason were on it and Dale dropped by to see us with a 140 and 65 in the back of his car. We were now able to hang the speaker and build around it. Which made our lives 100 times easier and allowed for zero guess work. We knew 100% that the speakers were going to fit.
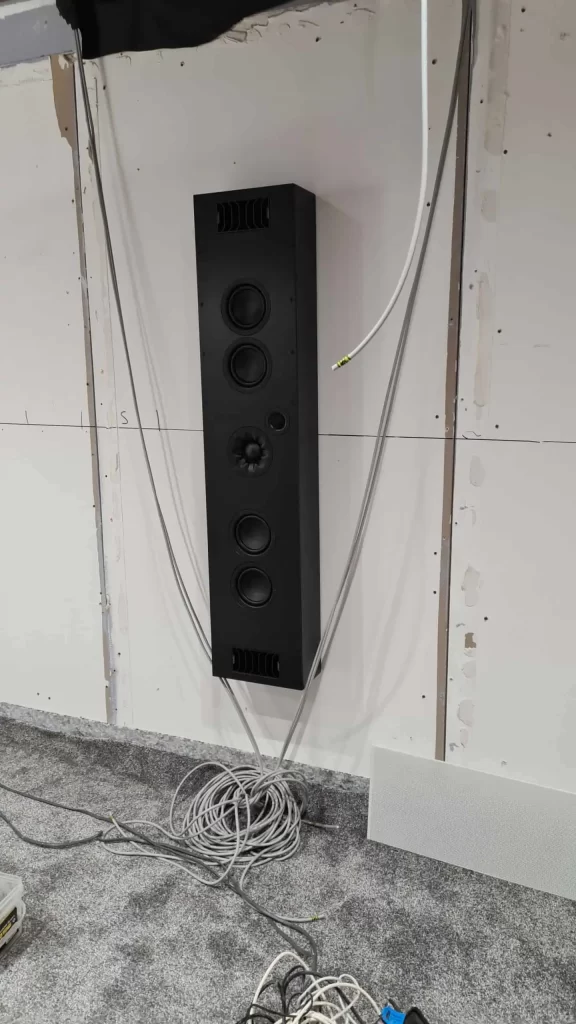
We could now start building the frames for the speakers to sit. We marked everything out on the walls and began building frames. This was a really fun part of the build for me. It took a lot of thought and math to work out the exact frame size and angles.
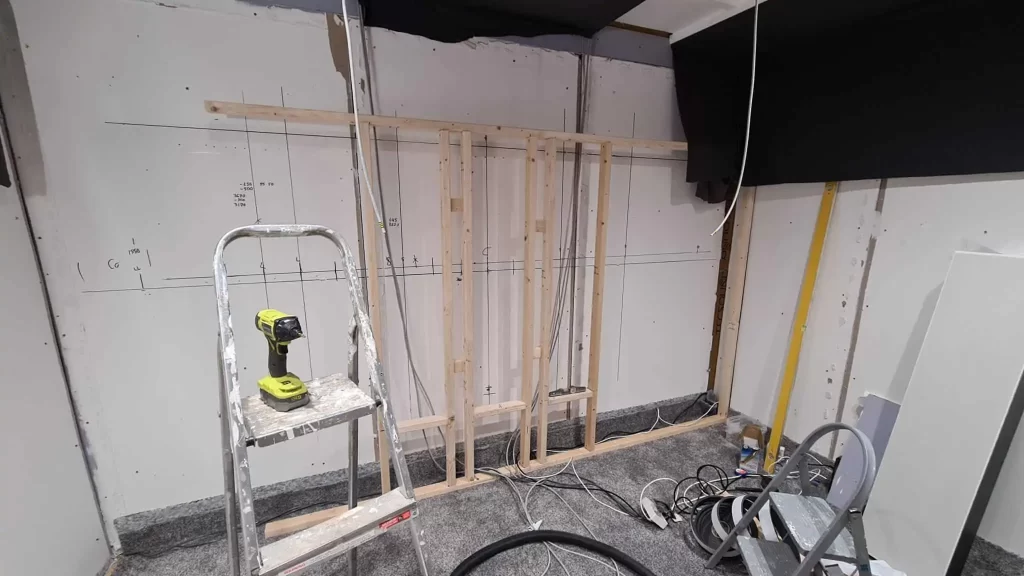
Dolby’s specifications require speakers to be 100% accurate and point at the correct angle to the listening position. Most studios go for the simple option of speakers on speaker stands. Not us…. we wanted a wall of 140cm high speakers engulf the room and look so impressive. This meant the walls had to be built on angles.
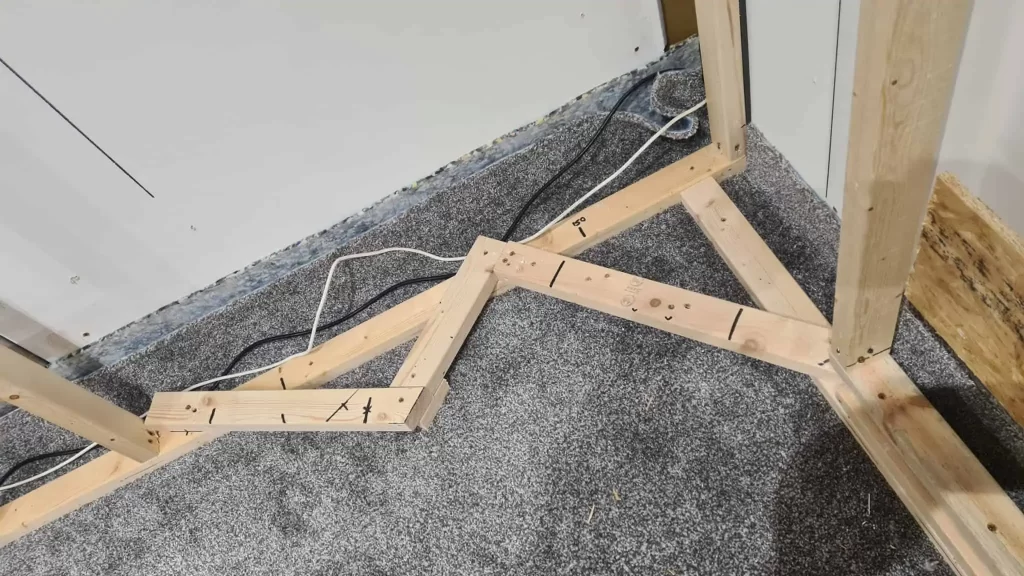
The frames were built and Dale arrived with the rest of the speakers. SX Pro personally delivered them and came in to help set them up.
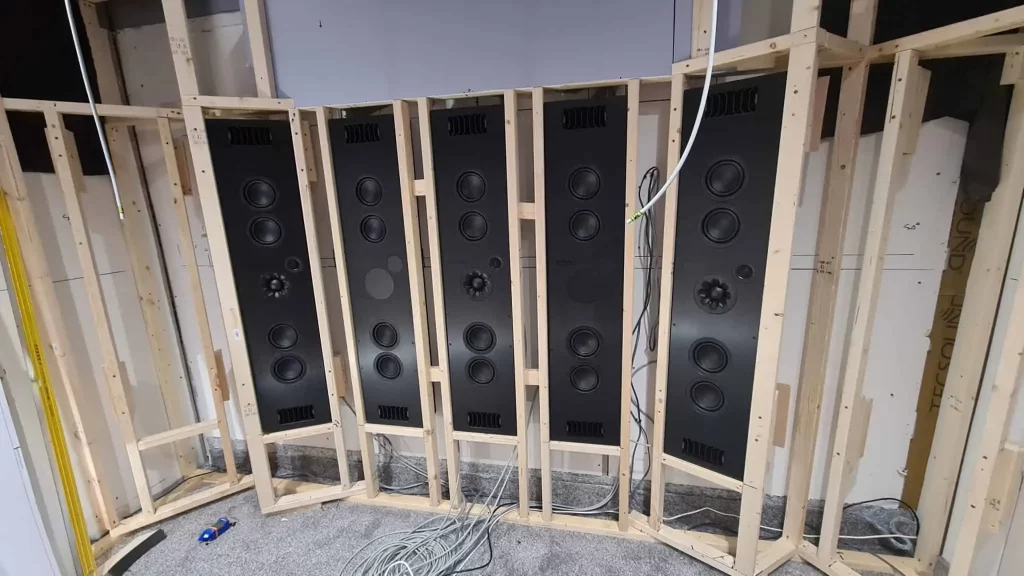
To thank Dale for all his hard work and for helping us, we ordered in a Turkish. A well deserved sit down and rest before fitting the rest of the speakers.
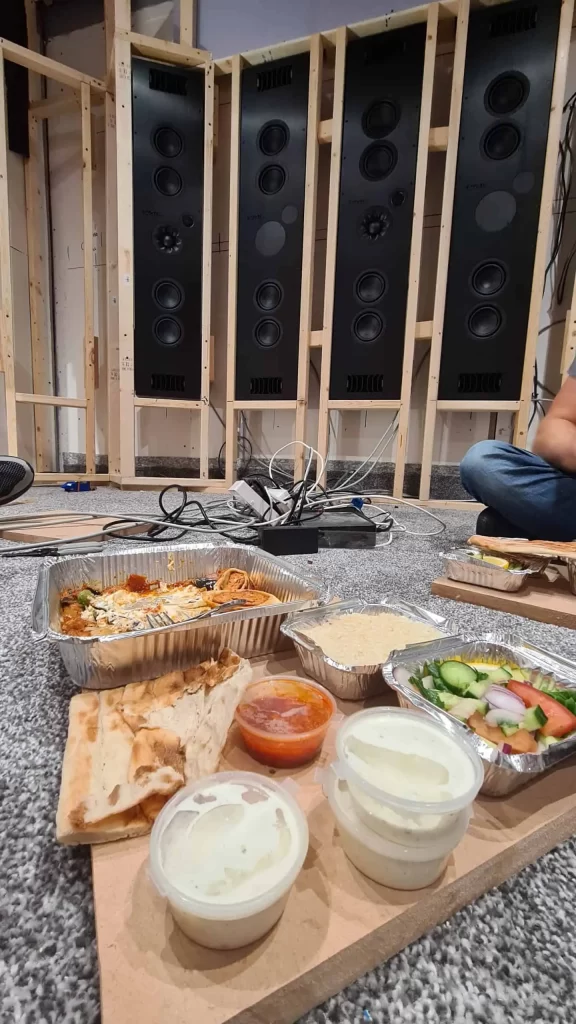
Next came the part that really started to make the difference. We started to wrap the speakers in fabric and permanently house the speakers in position.
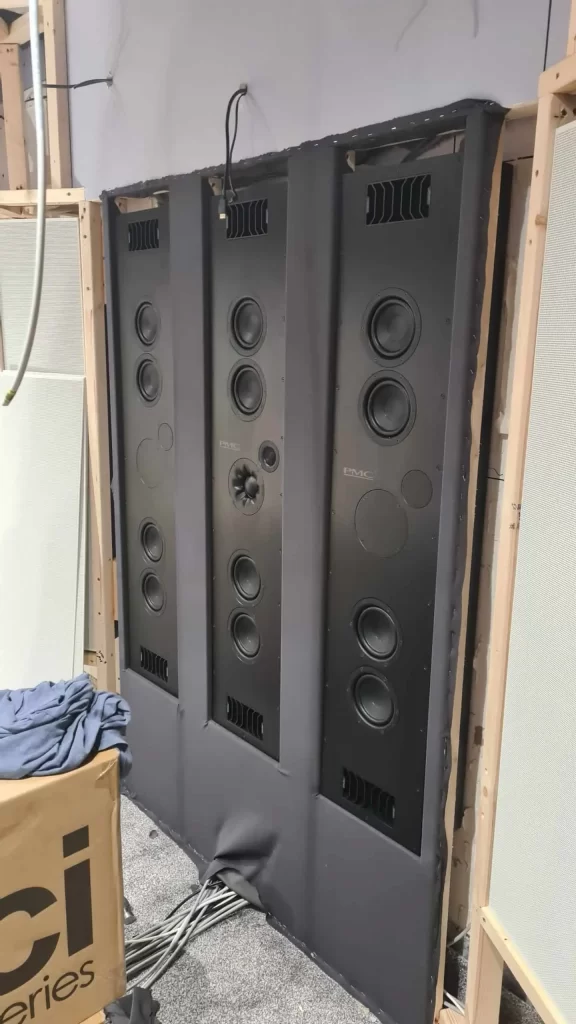
Things really started to take shape now. More speakers were added and we could start working our way around the room.
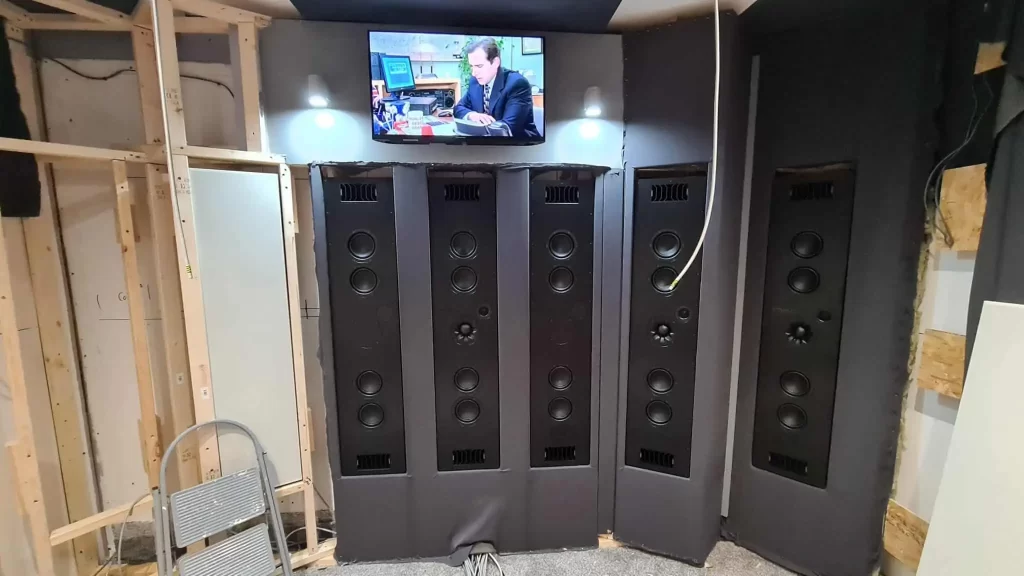
At this point I took a step back to admire the build. I said to myself, WOW! this looks unreal. I sarted to add the trims that cover the joins in the fabric and add the plasterboard strips that would house the lights.
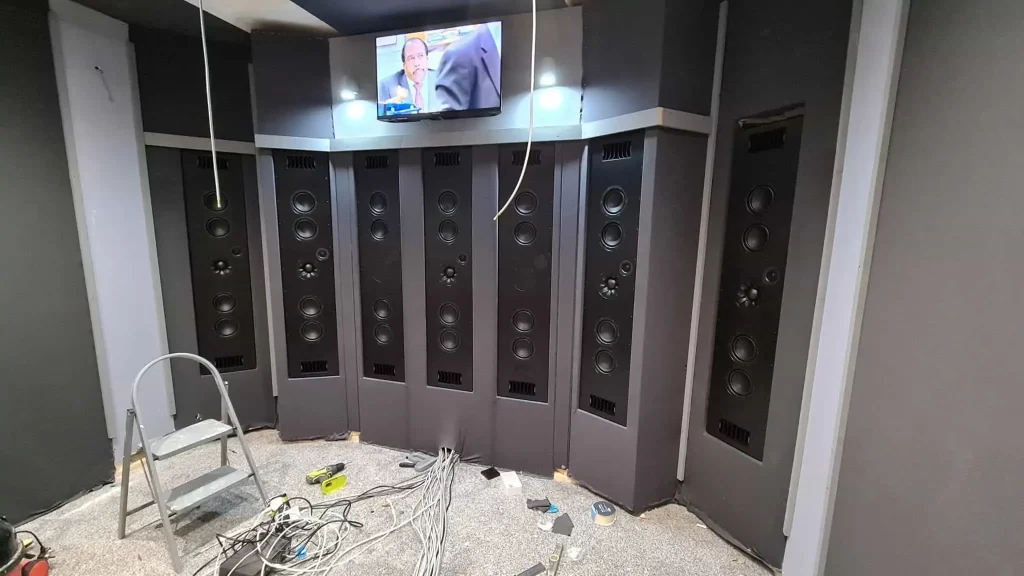
The room was now near completion. All that is left to do is is add the ceiling speakers and apply the trims around the room. We could see the light at the end of the tunnel.
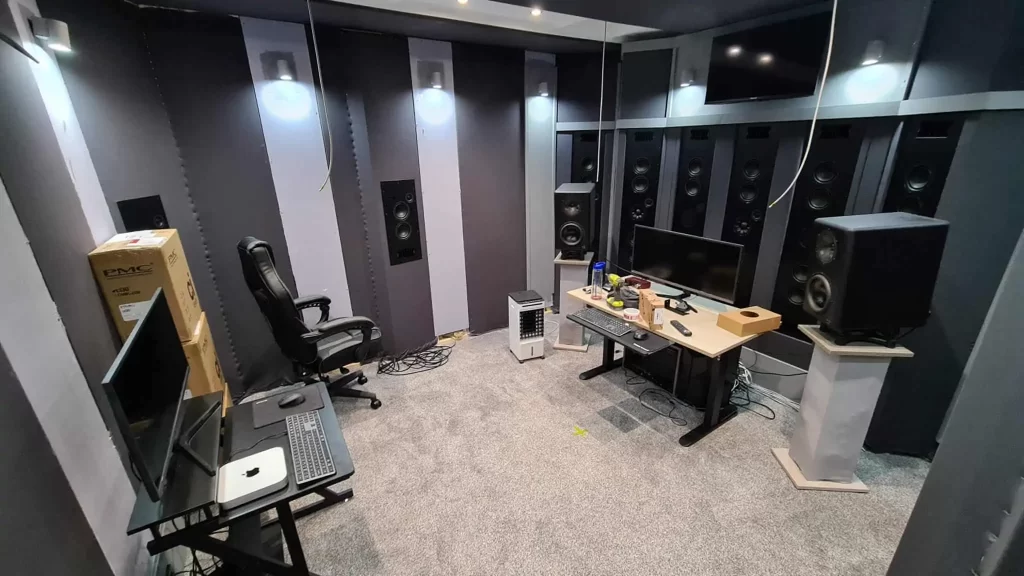
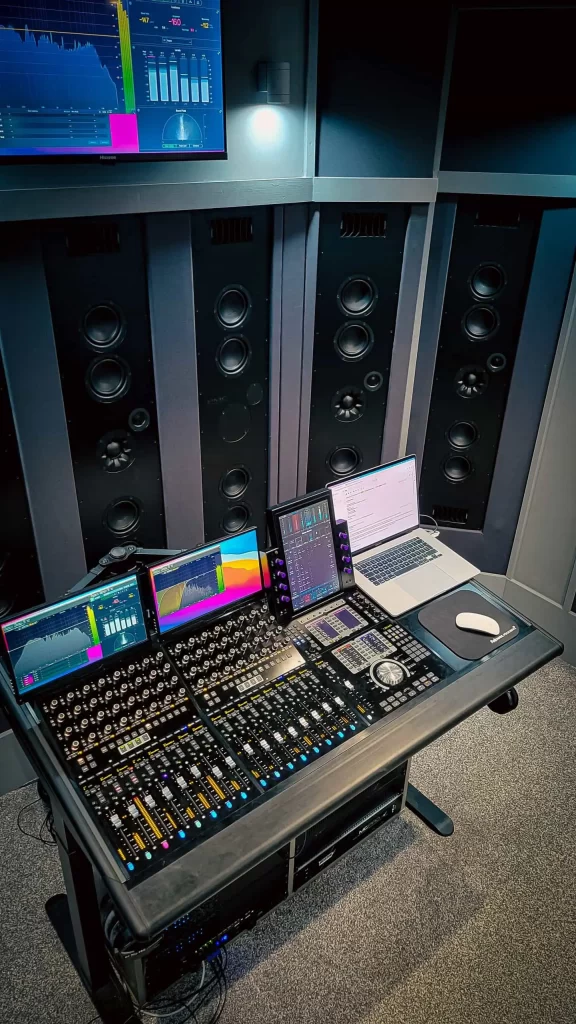
Today was the day. Today was the day we got set up and got to hear how the room sounded. First thing we had to do was build the Avid S4 console. As you can see again Dale from SX Pro came down to help wire the speakers into the amps and set the speaker management up.
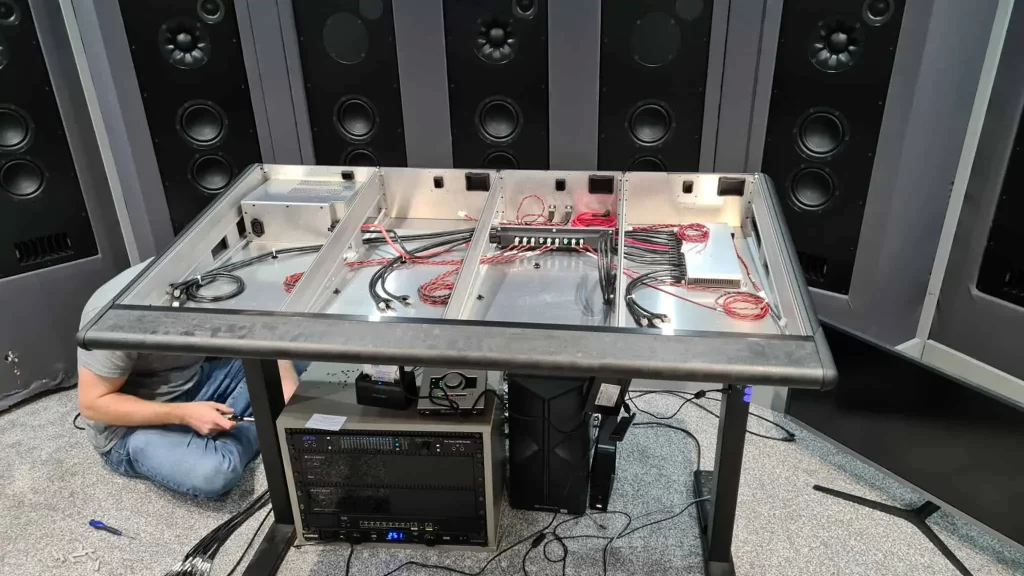
The S4 went in suprising smoothly, except that we positioned the master console to the right and it was only once we wired it up, Dale mentioned why don’t you put it left one so that you have space for your mouse and macbook on the right. Made perfect sense.
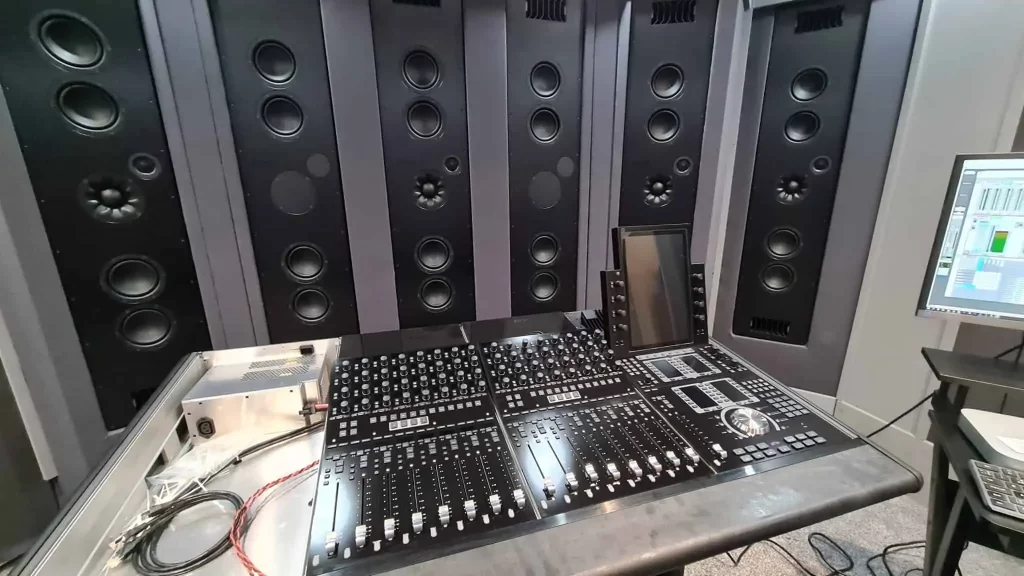
Now all set up with ceiling speakers and all speakers around the room it was time to start mixing in Dolby Atmos.
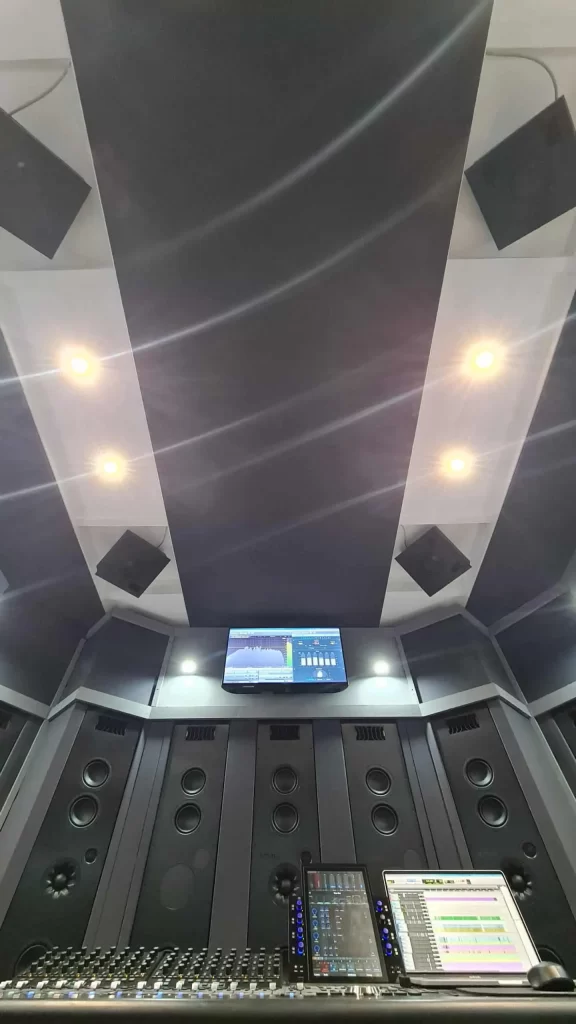
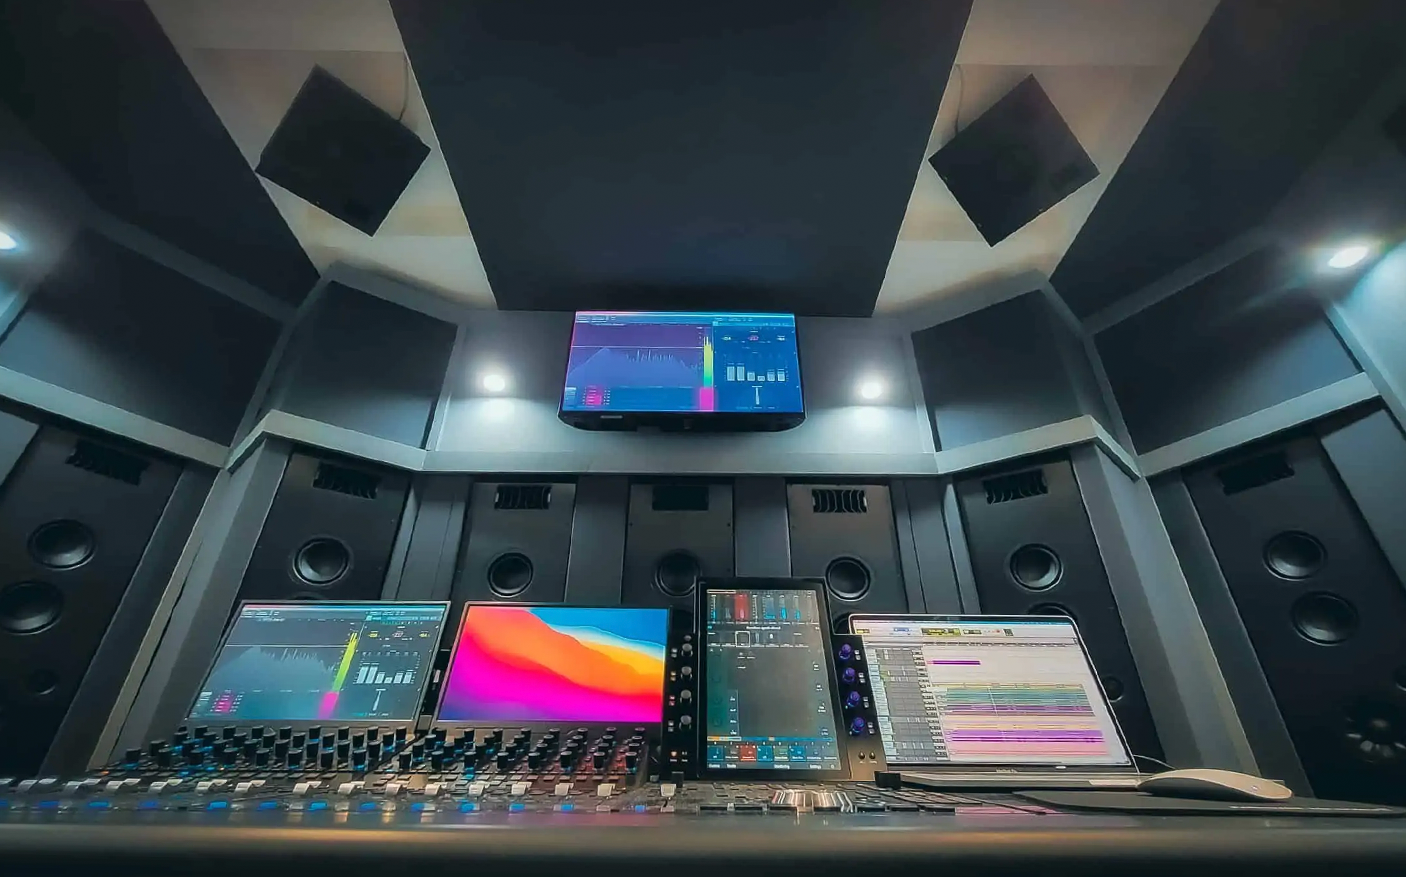
Here is the finished studio in all it’s glory. In total it took us around 2 weeks to complete the build from start to finish. But we are there now and enjoying every minute of it. We now have the UK’s first purpose built Dolby Atmos mixing and mastering studio. Lastly I want to say a huge thank you to all involved in the build and arranging everything.
Heff at PMC for taking the time to show us Dolby Atmos at the PMC showroom.
Alex at SX Pro for organising and arranging shipments for the exact day we needed them.
Jason at SX Pro for sorting out the Avid S4 and organising the demo with Simon on it.
Dale at SX Pro for being there every step of way to guide us and help with setting up an unbelievable speaker system.
Simon at Avid for getting on zoom to give us an Avid S4 demo as well as troubleshoot control issues.
